


Enjoying a new hobby and trying out new things everyday is a great way of learning something new and can sometimes lead to a new passion in a sport or recreational activity. Recreational shooting is one example of many different fun outdoor activities that often require lots of space for a shooting range setup or storage space for the different necessary equipment. In this article, we will cover the highlights of how April Wilkerson made a DIY automatic door for her trap launcher!
Planning the Layout for Wooden Railings
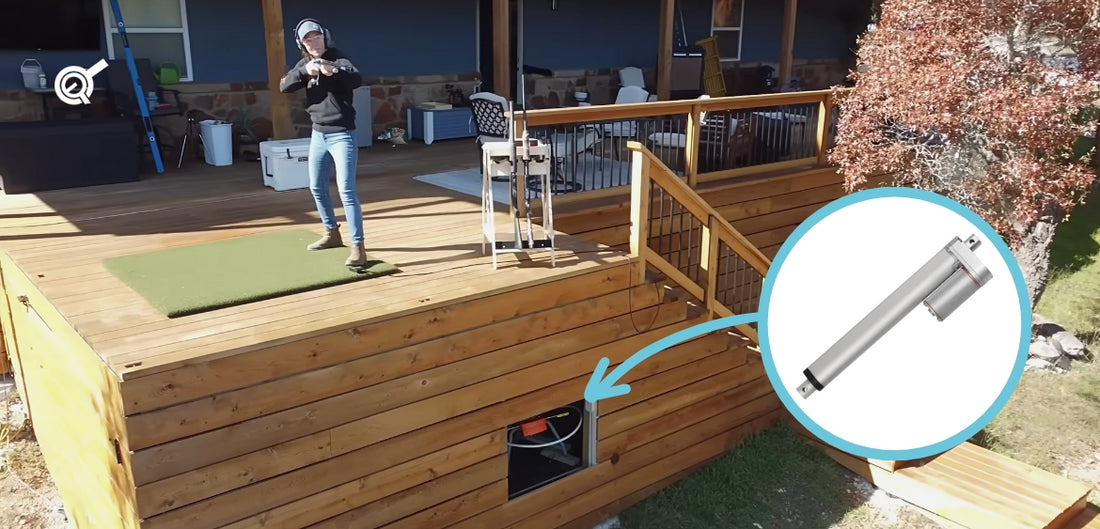
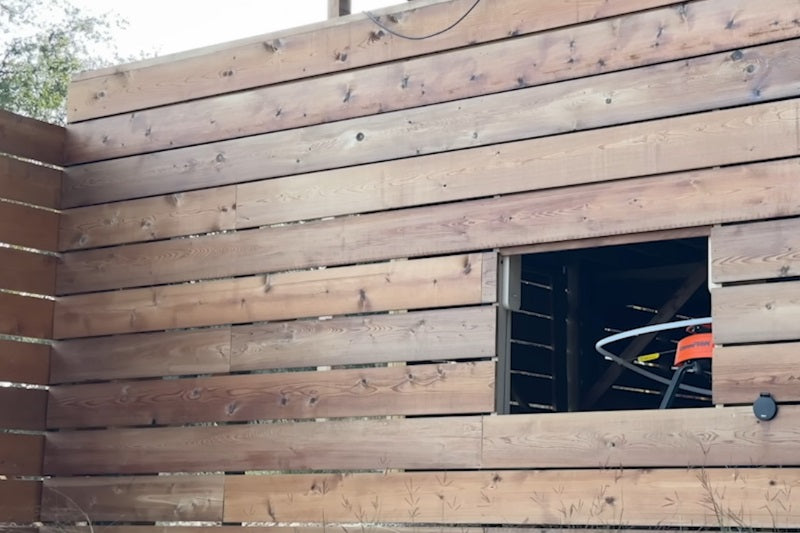
April previously built a deck on her porch that has a storage area under it with waterproof ceiling. This storage space is where she typically keeps her mower, however, there is still room to store an additional trap launcher on the far side of the deck with an automatic door to cover the trap launcher when unused. The door would sit flush with the deck’s skirting when closed, then pops up behind it when opening. For added context, the plan involves two inner wooden rails to be attached to the left and right sides of the door which travels a pre-defined path grooved into two outer wooden railings attached to the deck itself. April uses 4x coarse screws combined with 4x nylon standoffs and 4x nylon washers on all four corners of her inner wooden rails. Nylon material was chosen since the standoffs and washers would have less fraction compared to metal versions.
Installing Inner and Outer Wooden Rails

For the outer wooden rails, April had them cut out on the CNC to have curved grooves that would allow the inner wooden rails to move inwards into the inside of the deck before sliding up when opening the door. The left outer rail was mounted onto the deck’s post while the right outer rail was mounted to the wall stud with spacers to help keep a 90° right angle. After placing the inner wooden rails onto the outer wooden rails, April added scraps in between them as temporary spacers to prevent actual wood sliding on wood friction. She then goes to the exterior of the deck to attach the slats to the inner wooden rails using her Senco F-15XP Cordless Finish Nailer and stainless steel hardware. To ensure the rails were seated all the way against the exterior slats, Jake assisted in pushing the inner rails against the slats while April secured them in place.
Cutting The Automatic Door into Shape
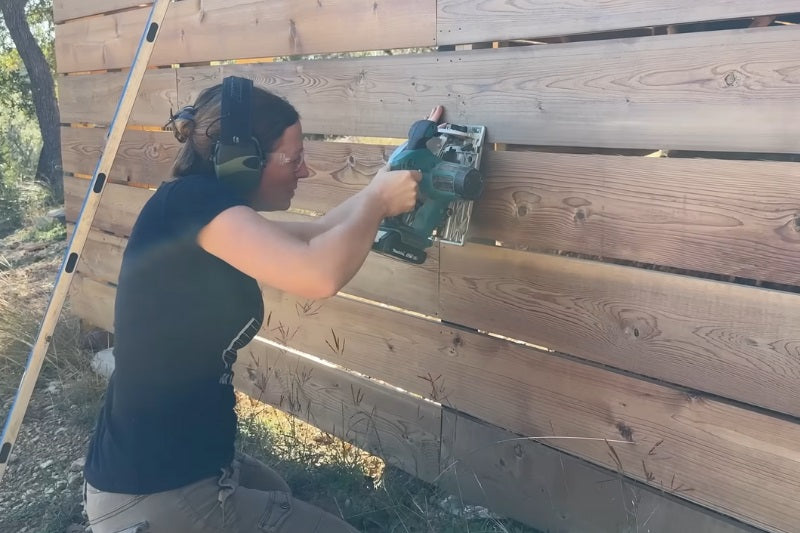
Ear protective wear such as the ISOtunes Sport used by April is recommended for hearing protection for guns, however, April also benefits from using them during the construction of this project in loud environments. Since the deck consists of horizontally placed slats, the door for this project will only need vertical cuts to create an opening. For the door, April uses a Makita circular saw to make vertical cuts to three slats where the positioning of the saw blade was in the vertical path of where April had her spacers behind the deck. April then performed a manual test successfully which confirmed that the groove cuts were able to slide the door inwards into the deck in the process of sliding upwards.
Choosing and Installing a Linear Actuator
For driving the motion of her automatic door, April required an electric linear actuator to automate the opening and closing process. Over the years, our technical support team was helpful and responsive whenever there were any questions regarding our linear actuators in April’s previous projects, so she chose Progressive Automations as her go-to supplier once again!
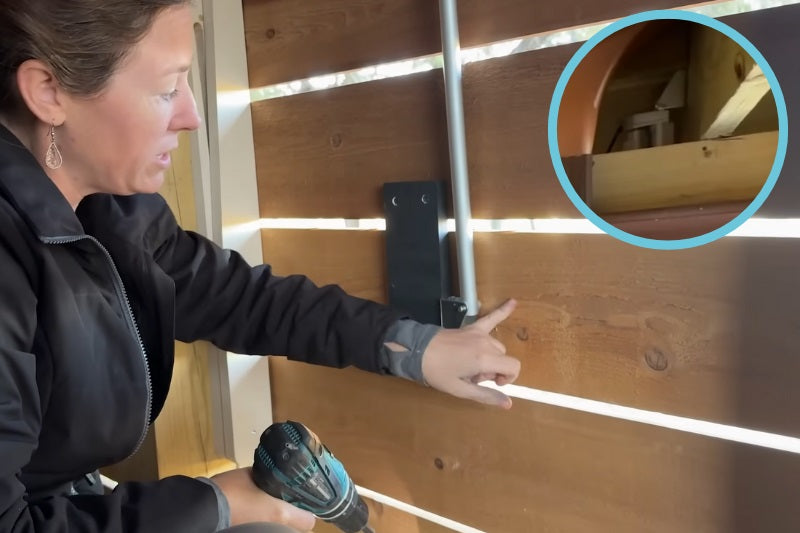
The chosen PA-14-24-35 offers a 24 inch stroke length in a compact size to fit the confined installation space above the door while still offering a moderate speed and sufficient force rating of 35 lbs for lifting the door. The Ingress Protection rating of IP54 was enough for April since the linear actuator will be kept inside the deck. Securing a BRK-14 mounting bracket to scrap wood that was attached to the door allowed the front mounting hole of the PA-14 linear actuator to stay in line with the rear mounting hole. The 2nd mounting bracket was installed above the door for the rear mounting hole.
Mounting and Wiring the Electronics
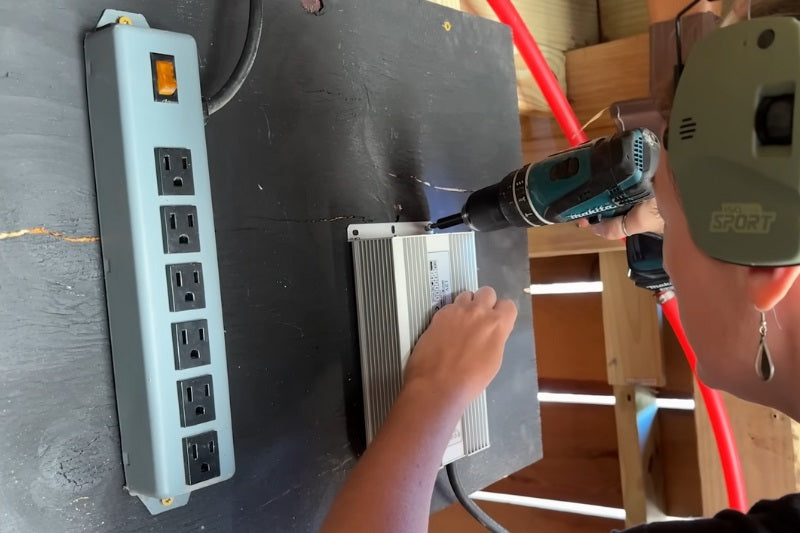
A piece of plywood was used as a platform to mount the PS-20-12-67 power supply, PA-33 control box, and the rest of the controls for April’s trap launcher. Although the electronics are placed inside the deck, the IP67 rating for the PS-20-12-67 and IP65 rating for the control box still helps protect against moisture and humidity. Another reason for wiring the single channel control box to an actuator was to enable April the convenience of wireless remote controls at the push of a button.
Adding the Trap Launcher
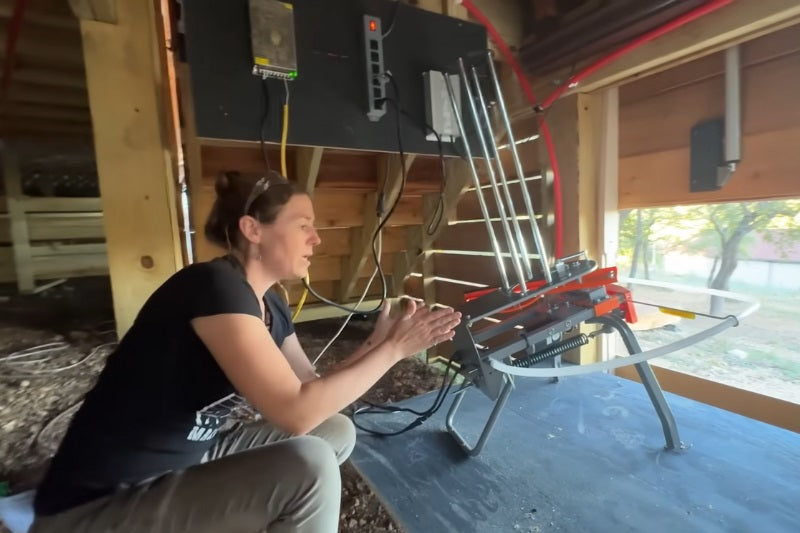
A deck was made for the trap launcher out of wooden framing and a plywood board as the base to mount the trap launcher. The post and wall stud from previously was used once again as a means of securing the trap launcher’s deck in place. April then screwed the trap launcher down to the plywood base and brings the foot pedal for activating the trap launcher up to the top of her deck for quick access while shooting clay. Although the trap launcher had the option to connect to a portable battery, April decided on using power from a separate transformer as this option would serve better for the frequent use of the trap launcher. After a few test runs of shooting clay targets, April was very pleased with the results of the DIY automatic door and the overall trap launcher setup. She went ahead with building a portable gun rack to compliment the rest of her setup.
To see April’s build process of her trap shooting range setup and the DIY automatic door in action, check out the video below and visit her YouTube channel @AprilWilkerson!
IN SUMMARY
We hope you found this article as interesting as we did, especially if you are thinking of creating your own trap shooting range or are interested in projects that can use a similar DIY automatic door.
Thank you, April, for sharing your project! We hope you continue enjoying your new hobby of recreational shooting with the updated trap shooting range!
If you have any queries about our electric linear actuators or wish to discuss our other products further, please do not hesitate to reach out to us! We are experts in what we do and will be happy to assist in any way we can.
sales@progressiveautomations.com | 1-800-676-6123