


Hidden TV cabinets are popular for home automation applications as they offer many different benefits for TVs such as TV protection, extra storage, and a stylish appearance. There are all sorts of ambient modes used by manufacturers to make TVs look better when not in use, however, custom made TV lift cabinets offer a new level of style to elevate the TV as the centerpiece of a room. If you were thinking of building your own homemade DIY TV lift cabinet at an affordable cost, this article is just for you! We will be covering how David from dliu.creates made his own motorized TV lift cabinet.
Design Process
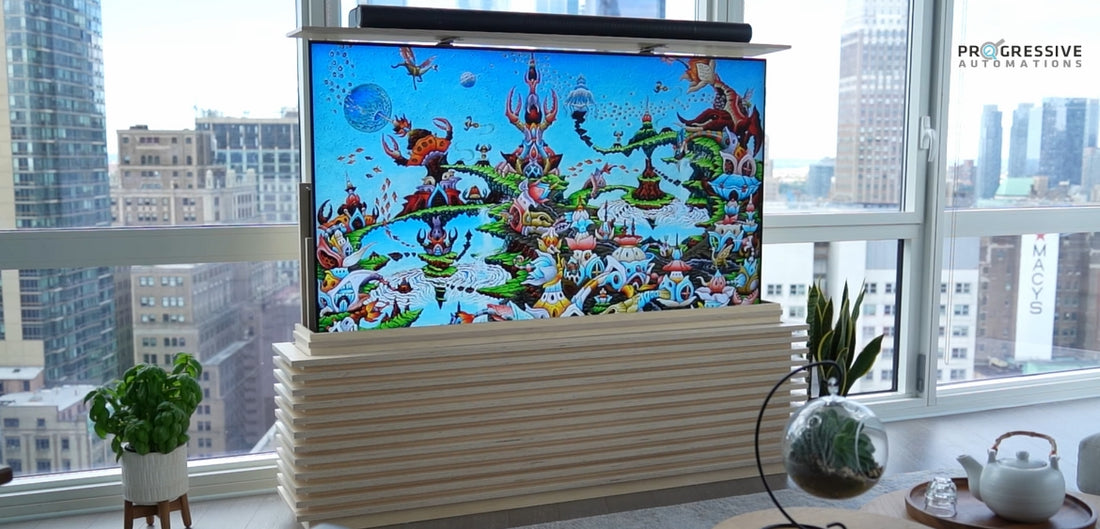
The first step in making a DIY TV lift is the designing stage to gather ideas and plan out the build process. David aims to build a decorative TV pop up cabinet that is also compact enough so that it does not block the view outside his window. He also wants the option to play music through the sound bar without the need for his TV screen. The current market of rollable OLED TVs has a similar goal to this; however, their designs are extremely complicated and not very affordable for most consumers.
TV lift cabinets for flat screens tend to raise too high if the design only has the TV as the moving piece raising up. This is because the TV will have to raise fully above the cabinet at a height that results in seated viewers having to tilt their heads to an uncomfortable position. A comfortable viewing height for the center point of a TV is typically around 38 inches above the floor.

After planning out a few different design options, David chose a design for his DIY TV lift mechanism to have a moving cover connected with strings and some pulleys to the actuator of his TV lift. This allows the TV to raise up with the actuator while the cover lowers down at the same time through strings. In this case, the TV can move to a comfortable height for viewing while still having the option to be covered up when it is not in use. When the TV goes down, the cover comes up and closes with the flat lid top that is attached to the lift. Removable back panels will allow for easier installation and adjustments to the mechanism that moves the cover. The back of the base will have gaps so that the power cables have an entrance. David designs the cabinet with our TY-01 Motorized TV Lift as the lift mechanism for the project, decorative slats for a stylish appearance, and plywood construction for its light colors.

Constructing The Project
David made a cutting list for the project and made some adjustments to allow for two sheets of plywood to fit all his needs. He used the two sheets of plywood material to cut out the 98 pieces he needed for the project. This process took about 6 hours to complete in the shop.

He also used wood glue to secure a few pieces together and made the necessary pocket holes before bringing the cutout pieces home from the Makerspace.

A handy spacing jig was made to carefully position all the slats so that David can attach them to the TV lift cabinet with screws.

David then puts together the back of his DIY TV lift using pocket screws.

To hold the top cover of his TV lift cabinet, David adds plywood rails for the inside of his DIY TV lift cabinet. The first attempt was too tight and resulted in a jammed cover at first.

After adding a few washers to the rails as spacers, it was finally able to move.

When testing the DIY TV lift mechanism’s moving cover, the attached strings were able to move the cover in the directions that David wanted while the TV was being moved by the lift.

Turnbuckles were used to adjust the length of the lines; however, the additional friction resulted in the lines to have tension and caused the eye hooks that were guiding the lines to bend. The thin strings were also cutting a groove into the metal. For this reason, David replaced the thin strings with thicker paracord.

To glue the decorative top slats correctly into place, David made a 3D printed jig to space the slats evenly. He then installs his TV screen and puts it together for another test. The system worked well during the tests which allowed David to proceed with the next phase of his project.

Finishing Touch Ups
To remove the burn marks in the plywood pieces, David uses a combination of power sanding and hand sanding to refine the plywood edges. This process takes some time due to all the slats involved, however, it was a required step before applying the finishing coats.

He decides to take off all the slats because there were too many nooks and crannies to apply the finishing coat easily. Once this was done, David applied a coat of water-based polyurethane to the custom made TV lift cabinet.

After the first coat dried, it required one more step of sanding for the final touch-up before applying another coat.

Vacuuming the sanded areas helped clean the surface before the next coat of polyurethane.

Final Assembly
Once the DIY TV lift cabinet was fully coated, David proceeds for the final assembly. He reinstalls the slats by enlarging the existing holes to be clearance holes so that he does not have to use the spacing jig again. The top slots went on using pocket screws to hide the edges. More pocket screws were used for the bottom of the box and the back of the box. David also moved the back wall forward slightly because there was too much of a gap between the cover and the front of the box in his first test.

He then secures the lift mechanism in place with screws and mounts the control box inside the cabinet. A wireless remote controller comes with each of our TY-01 lift; however, David mounts the extra wired remote inside the DIY TV lift cabinet to serve as a backup.

He then makes a plywood bracket to hold the top lid of the TV lift cabinet. The slots of his plywood brackets allow for some adjustability so that the lid can close perfectly.

David attaches the lid to the bracket using magnets to allow the lid to be popped off for servicing. This type of design is also a little safer in the event something gets jammed underneath it while closing. He then secures his TV to our TY-01 lift.

The paracord lines are then re-attached in a similar way to his previous test. Due to the turnbuckles being removed, the process of setting the lines to the correct length becomes quite tedious.

Even though an adjustable taut line hitch was used for the knot, there was still a lot of trial and error involved during the setup.

The design was also very narrow and awkward for reaching in to make the adjustments by hand. David drills a hole through the lid for the wires of his sound bar and secures the sound bar into place to complete the assembly.

Refining The Cover
David called the project done for a couple of days, however, he wanted to improve the design of his moving cover since the gap under the lid kept growing larger and larger over time. To refine the TV pop up cabinet, a new method was required for adjusting the lines more easily and reducing the friction so that there will be less backlash.
He designs some 3D printed pulleys to replace the eye hooks for redirecting the paracord lines. Skateboard bearings from a previous project were used for the double pulleys he fixed to the backboard. Extension springs were being used to keep the line under tension by pulling onto the moving pulley.
The moving cover could not be pulled up by the springs due to the moving pulley being at a two-to-one mechanical disadvantage in this system and the springs being too soft.

David decides to remove the springs; however, another issue was that the screws for the double pulleys started bending over time. Eventually, both double pulleys at the top the plastic wheels broke. The paracord also tended to derail at full load as there was too much of a sideways force being applied to the pulleys. Another issue with this system was that it caused the eye hooks to bend over time.

David decided to try a new approach by replacing the remaining eye hooks with single pulleys and adding some eye hooks as guards to slightly redirect the paracord, so they are always pulling on axis with the pulleys. He also routes the paracord line this way to reduce the load on the fixed pulley.

With this new approach, the system was able to work just as David wanted. To complete the project, David adjusts the turnbuckles to close the gap. Another small trick was to tip the lid forward so that it wants to close the gap more.

Watch the full video of David making his DIY TV lift cabinet below:
IN SUMMARY
By following the build process and using the right supplies, David now has his very own DIY TV lift cabinet with a moving cover. For more cool projects by David from dliu.creates, feel free to visit his Youtube channel!
Thank you to David for sharing your project - We are delighted to see you enjoying your new TV lift cabinet!
If you have any custom projects, applications, or technical questions about our products, feel free to reach out to us anytime. We are experts in what we do and will be happy to assist you with your future custom projects!
sales@progressiveautomations.com | 1-800-676-6123